Excel spreadsheets are the backbone of daily office work, financial tracking, academic data analysis, and business reporting. Users rely on Excel’s flexible grid system to build structured tables, input precise numerical data, customize cell layouts, and apply unique styling.
While Excel is perfect for editing and calculating data, it is not ideal for sharing finalized files. Spreadsheet layouts often shift across different devices, software versions, and screen sizes. This is why converting Excel files to PDF is a necessary final step for formal sharing, client delivery, and official submission.
Unfortunately, most basic conversion methods ruin your carefully adjusted layouts. Columns shrink, rows stretch, fonts change, table borders disappear, and content spills onto multiple pages. These messy errors make professional reports look unpolished and unorganized.
If you want to lock in your custom spreadsheet design perfectly and avoid all these annoying issues, learning how to convert Excel to PDF without losing formatting is essential for all users. This detailed guide breaks down everything you need to know for flawless, error-free conversion every single time.
Why Regular Excel to PDF Conversion Ruins Your Formatting
Most users struggle with broken layouts simply because they use quick, unoptimized conversion methods. Basic tools ignore custom Excel settings and force generic page rules onto your spreadsheets.
Incorrect page scaling settings: Standard quick-convert tools use default page sizes that conflict with your custom column width and row height. This causes content to overflow, shrink, or split awkwardly across new pages.
Unrecognized custom styling: Many basic converters fail to detect customized fonts, cell shading, text alignment, and border styles. They reset all styling to default PDF settings, stripping your document of professional formatting.
Poor table structure recognition: Complex spreadsheets with merged cells, multi-line text, and nested tables often break during standard conversion. Cells split randomly, and table alignment falls apart completely.
Ignored print area settings: Most Excel users set custom print areas to focus on key data. Generic tools override these settings, exporting blank sections or unnecessary content that ruins your final layout.
Understanding these common conversion flaws makes it clear why mastering how to convert Excel to PDF without losing formatting saves hours of repetitive manual adjustment and drastically improves your daily office workflow.
Key Benefits of Format-Preserving Excel to PDF Conversion
Using a correct method to convert spreadsheets delivers far more reliable results than quick default tools. The advantages apply to students, office workers, freelancers, and business professionals alike.
100% layout consistency: Every column width, row height, cell alignment, and table border stays identical to your original Excel file. No unexpected shifting or resizing occurs.
Full style retention: Custom fonts, colors, cell fills, bold text, and numerical formatting remain intact. Your finished PDF matches your original spreadsheet’s professional aesthetic.
Accurate page segmentation: Optimized conversion keeps continuous tables on single pages and avoids awkward content splits. The final document looks clean, organized, and easy to read.
Universal display compatibility: PDFs lock formatting permanently. Files look identical on phones, computers, and tablets, eliminating device-specific layout errors.
No post-conversion editing: Perfect format retention removes the need for manual fixing, rescaling, and layout adjustment after export.
Top Use Cases for Perfect Excel to PDF Format Preservation
Knowing how to convert Excel to PDF without losing formatting becomes critical in professional, academic, and business scenarios where layout professionalism and data integrity cannot be compromised.
Business financial reports: Financial spreadsheets rely on precise alignment and standardized styling. Broken formatting can confuse readers and even lead to misinterpreted financial data.
Client project deliverables: Clean, consistent PDFs create strong professional impressions. Unpolished, broken layouts undermine credibility and quality of your work.
Academic data submissions: Research tables, survey data, and experimental spreadsheets require fixed formatting to meet school and journal submission standards.
Official administrative documents: Standardized company forms, inventory logs, and statistical sheets must retain fixed layouts for internal archiving and official review.
Portfolio and resume data sheets: Custom styled tables and structured data sections need perfect formatting to maintain a clean, professional portfolio appearance.
Must-Know Settings for Format-Locked Conversion
To fully master how to convert Excel to PDF without losing formatting and achieve consistent lossless results, you need to adjust a few critical settings that most casual users ignore. These simple options are the secret to error-free, format-locked exports every time.
Custom print area setup: Define your exact data range before conversion. This excludes blank cells and unnecessary content that disrupt page layout.
Fit-to-page scaling: Enable precise page scaling to fit entire tables within PDF boundaries without shrinking text or breaking cell structure.
High-quality image compression: If your spreadsheet contains charts and graphics, always select high-quality export modes to avoid blurring or distorted visuals.
Embed font settings: Font embedding ensures custom typefaces display correctly on all devices, preventing default font replacement and style distortion.
Preserve merged cell structure: Advanced retention settings keep merged cells intact, avoiding split cells and misaligned content in complex tables.
Step-by-Step Guide: How to Convert Excel to PDF Without Losing Formatting
Follow this simple, optimized workflow to guarantee perfect formatting every time. This method is beginner-friendly and works for all complex spreadsheet types.
Step 1: Clean Up Your Original Excel File
Remove empty rows, unnecessary columns, and stray cell content. Double-check merged cells, font styles, and table borders. A clean source file ensures flawless conversion results.
Step 2: Set a Custom Print Area
Highlight your exact data range. Set the selection as your official print area. This tells the converter exactly what content to include, eliminating excess blank space and layout errors.
Step 3: Adjust Page Layout Scaling
Open page layout settings and enable fit-to-page scaling. Choose the option to fit all columns and rows within single page boundaries. This prevents content overflow and awkward splits.
Step 4: Enable Font and Style Embedding
Access advanced export options and turn on font embedding. This locks your custom fonts, text sizes, and styling into the PDF file to avoid default system font replacement.
Step 5: Preview Full Page Layout
Use print preview mode to scan every page. Check for misaligned columns, cut-off content, and inconsistent scaling. Fix minor layout issues before exporting the final file.
Step 6: Export High-Quality PDF File
Select the optimized PDF export mode. Avoid fast basic conversion options. Export the full-quality file with all formatting preservation settings activated.
Step 7: Verify Final PDF Formatting
Open your finished PDF and cross-check tables, fonts, alignment, and page breaks. Confirm every detail matches your original Excel spreadsheet perfectly.
Most Common Formatting Errors & Quick Fixes
Even small setting mistakes can ruin your final file. Use these quick fixes to resolve common conversion issues instantly.
Cut-off table edges: Adjust page margins and enable fit-to-page scaling to contain all table content within PDF borders.
Changed font styles: Always enable font embedding. Missing this setting forces PDFs to replace custom fonts with generic alternatives.
Uneven column sizing: Reset column width uniformity before conversion to avoid stretched or shrunk cells in the final PDF.
Random page breaks: Manually adjust page break lines in Excel to control exactly where content splits across multiple PDF pages.
Expert Tips for Flawless Long-Term Results
These professional tips will help you consistently master how to convert Excel to PDF without losing formatting and maintain perfect formatting for every personal and professional project.
- Always preview files before final export to catch subtle layout errors invisible in spreadsheet view.
- Avoid fast conversion presets, as they prioritize speed over formatting accuracy.
- Standardize your Excel layout before conversion to reduce post-processing adjustments.
- Save layout templates for repeated projects to ensure consistent formatting across all your PDFs.
Final Thoughts
Broken formatting during Excel to PDF conversion is one of the most common and avoidable workflow frustrations. It wastes time, reduces document quality, and weakens professional presentation.
Learning how to convert Excel to PDF without losing formatting eliminates these common conversion issues entirely. With the right settings and a structured workflow, you can lock in every custom layout, font style, and detailed table structure from your original spreadsheet.
The result is clean, professional, device-compatible PDF files that match your original Excel design perfectly. Master this simple skill to boost productivity and ensure polished results for every report, table, and data document you share.
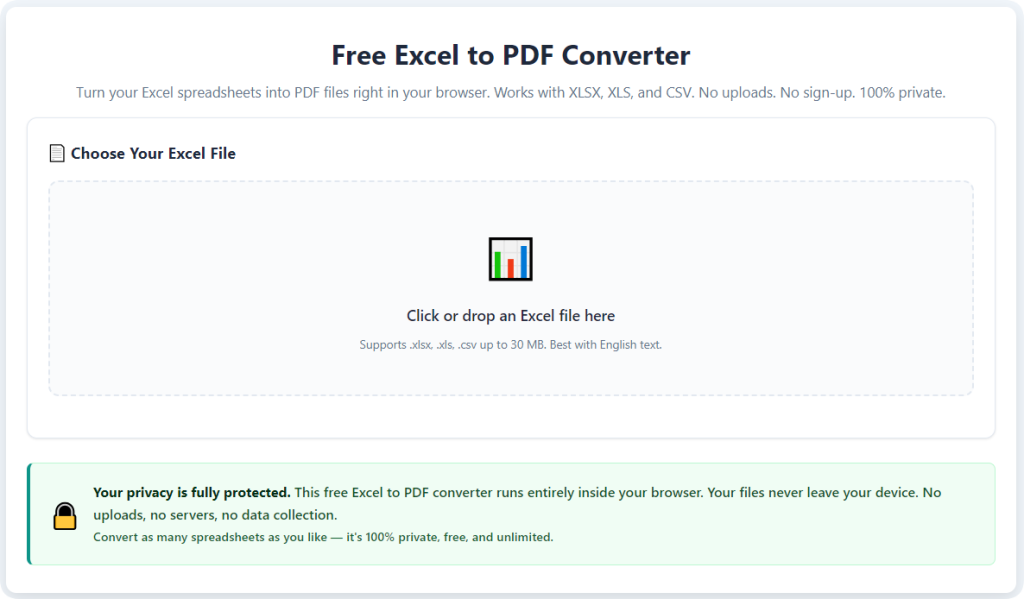
After learning the operation method, click the link below to enter the tool page for immediate use.