If you’ve ever struggled with large image files that slow down your website, take up too much storage space, or fail to upload to social media or email, you know how frustrating it can be. The solution? Learning how to compress image size online without losing quality—an easy, free process that lets you shrink image files while preserving their clarity and detail. Our step-by-step tutorial will walk you through everything you need to know, using our free online image compressor tool that requires no downloads, no registration, and delivers results in seconds. Whether you’re a blogger, small business owner, student, or everyday user, this guide will help you compress images effortlessly, saving time and storage without sacrificing quality.
Many people avoid compressing images because they fear losing quality—blurry photos, distorted colors, or pixelated details. But with the right online tool and proper steps, you can compress image size by up to 80% without any visible loss in quality. This is crucial for website owners (faster load times boost SEO), content creators (easier to share images), and anyone who works with digital photos or graphics. Our tutorial focuses on a simple, user-friendly process that anyone can follow, even if you’re not tech-savvy. Best of all, it’s 100% free, with no hidden fees, watermarks, or usage limits.
Why You Need to Compress Images Online (Without Losing Quality)
Before diving into the step-by-step guide, let’s cover why learning how to compress image size online without losing quality is so important. Large image files cause a host of problems: slow website load times (which hurt Google rankings and user experience), difficulty uploading to platforms like Instagram, Facebook, or email (which often have file size limits), and wasted storage space on your device or cloud drive.
Compressing images solves these issues, but only if done correctly. Low-quality compression tools can make your images look blurry or unprofessional, defeating the purpose. That’s why our guide focuses on a method that retains every detail of your original image while shrinking its file size. Whether you’re compressing photos for a blog, product images for an online store, or personal photos to share with friends, this process works for all image types (JPG, PNG, WebP) and sizes. This is where free online image compression becomes a game-changer—no expensive software, no technical skills, just fast, high-quality results.
Tools You’ll Need (100% Free & No Downloads)
To follow this tutorial on how to compress image size online without losing quality, you only need two things: a device with an internet connection (desktop, tablet, or smartphone) and our free online image compressor tool. Unlike other methods that require expensive software (like Photoshop) or downloadable apps, our tool is web-based—meaning you can access it directly in your browser, no installation required.
Our online image compressor tool is designed specifically to compress images without losing quality, using advanced compression technology that targets unnecessary data (like redundant pixels) without altering the image’s clarity, colors, or resolution. It supports all popular image formats, including JPG, PNG, WebP, and GIF, and works with both photos and graphics. Best of all, it’s free to use, with no registration, no watermarks, and no limits on how many images you can compress—perfect for anyone needing regular image compression without quality loss.
Step-by-Step Guide: How to Compress Image Size Online Without Losing Quality
Follow these simple steps to compress your images online, fast and without losing quality. We’ve broken down the process into easy-to-follow steps, so you can complete it in less than a minute per image—even if you’re new to image compression. This guide is tailored to make compress images without losing quality online simple for everyone.
Step 1: Access the Free Online Image Compressor Tool
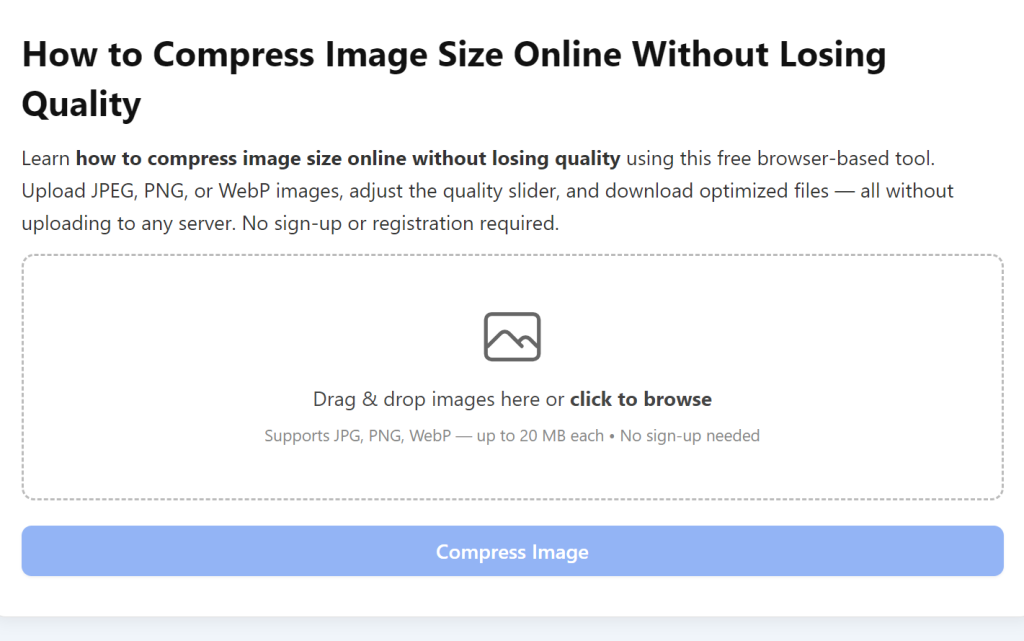
First, open your web browser (Chrome, Firefox, Safari, or any other browser) and navigate to our free online image compressor tool. You don’t need to bookmark it (though you can if you use it often) and there’s no need to create an account or log in. The tool loads instantly, so you can get started right away—no delays, no hassle.
Step 2: Upload Your Image File
Once the tool is open, you’ll see a designated upload area with the text “Drag & Drop Your Image Here” or “Click to Upload.” You have two options: drag the image file from your device (desktop, phone, or tablet) and drop it into the upload area, or click the upload button to select the image from your device’s file folder. You can upload one image at a time, or use the batch image compression online feature to upload multiple images if you need to compress several files at once.
Our tool supports all standard image formats, so you don’t need to convert your image first. Whether it’s a JPG photo from your camera, a PNG graphic for your website, or a WebP file, the tool will handle it seamlessly. Note: If your image is password-protected or in a rare format, double-check that it’s compatible (most common formats work).
Step 3: Select Compression Quality (Preserve Clarity)
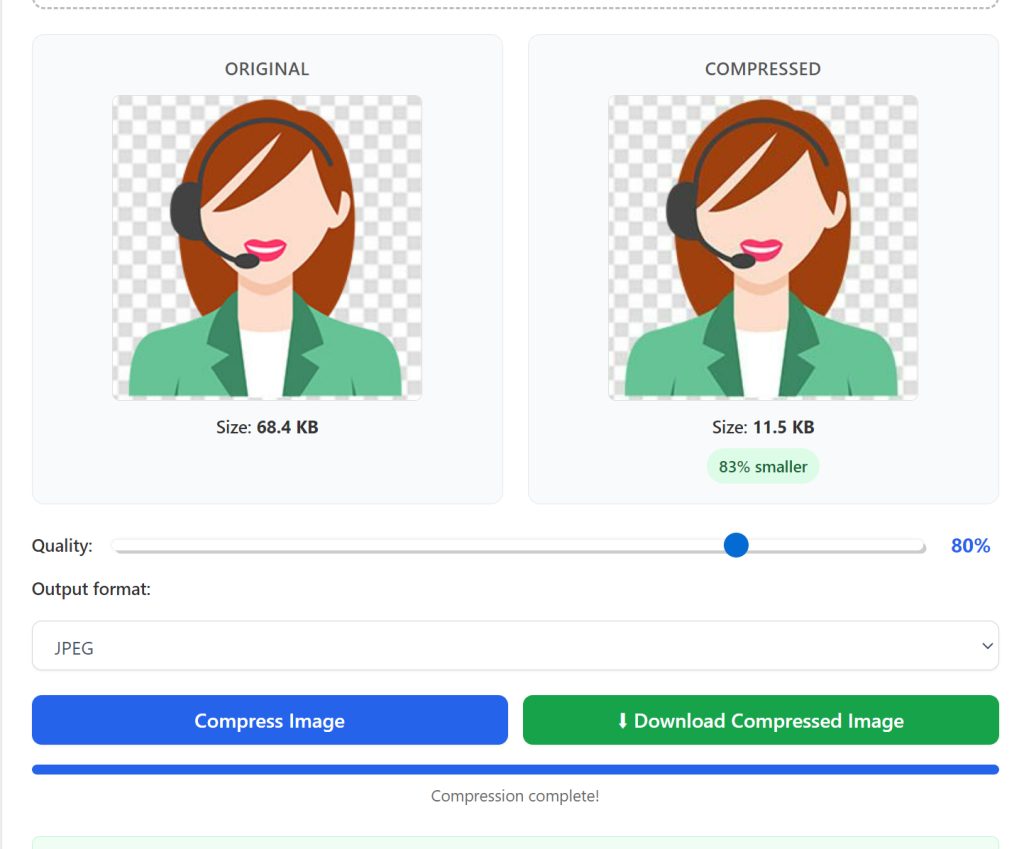
After uploading your image, you’ll see a compression quality slider or dropdown menu. This is where you control how much the image is compressed—we recommend keeping it set to “High Quality” (the default setting) to ensure no visible loss in clarity. The slider lets you adjust the compression level: higher compression = smaller file size, but lower quality; lower compression = larger file size, but higher quality.
For most users, the default “High Quality” setting is perfect—it compresses the image by 50-70% while keeping it looking identical to the original. If you need an even smaller file size (e.g., for email attachments), you can slightly lower the quality, but we suggest previewing the image first to ensure it still looks clear. This step is key to achieving image compression without quality loss.
Step 4: Start the Compression Process
Once you’ve selected your compression quality, click the “Compress Image” button. The tool will process your image in 1-2 seconds (even for large images) and show you a preview of the compressed image alongside the original. You’ll also see the file size reduction—for example, “Original: 2MB → Compressed: 500KB” (a 75% reduction).
Take a moment to compare the original and compressed images to ensure there’s no visible loss in quality. Our tool uses lossless compression technology for PNG files (preserves all details) and optimized lossy compression for JPG files (minimizes quality loss), so the compressed image should look identical to the original. This is what makes our online image compressor tool stand out from other free options.
Step 5: Download the Compressed Image
If you’re happy with the compressed image, click the “Download” button. The image will automatically download to your device’s default download folder. For batch uploads, you can download all compressed images as a ZIP file to save time. Once downloaded, you can use the compressed image for your website, social media, email, or any other purpose—with a smaller file size and no loss in quality. It’s that simple!
Key Tips for Compressing Images Without Losing Quality
To get the best results when learning how to compress image size online without losing quality, follow these expert tips. These will help you maximize file size reduction while keeping your images clear and professional, whether you’re using our tool or any other free online image compression service.
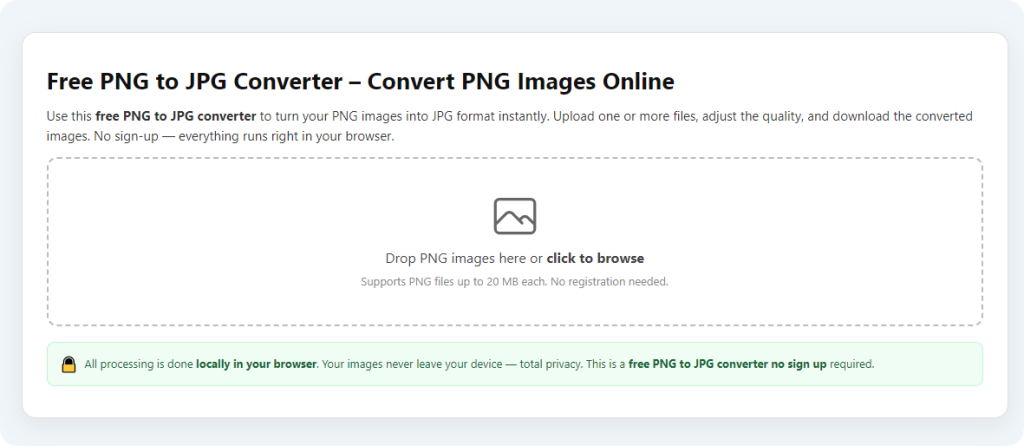
1. Choose the right image format: JPG is best for photos (supports high compression with minimal quality loss), while PNG is best for graphics, logos, or images with transparent backgrounds (use lossless compression to preserve details). WebP is a newer format that offers better compression than both JPG and PNG—our tool supports WebP too.
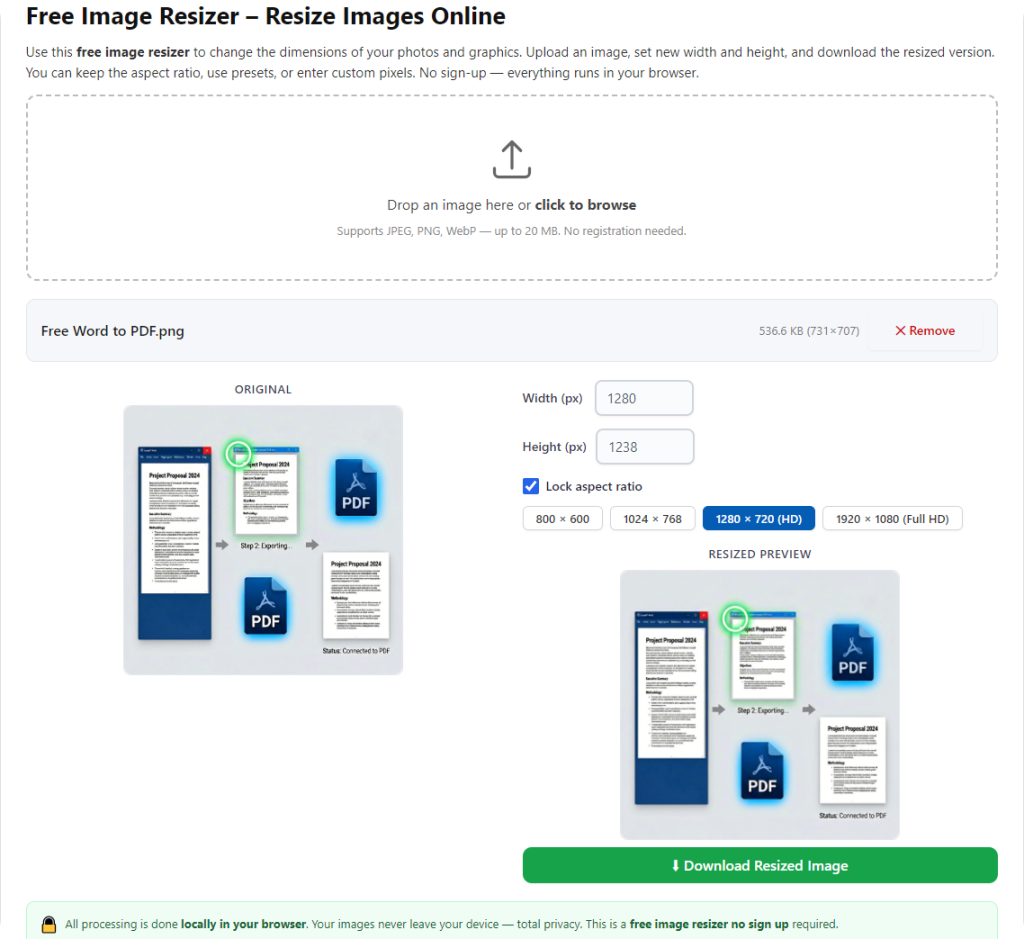
2. Resize before compressing (if needed): If your image is larger than necessary (e.g., a 4000x3000px photo for a website that only needs 1200x900px), resize it first to reduce the file size even more. Our tool has a built-in resize option, so you can do this in one step.
3. Avoid over-compression: While it’s tempting to compress images as much as possible, over-compression can lead to blurriness or pixelation. Stick to the “High Quality” setting unless you have a specific reason to lower it.
4. Batch compress for efficiency: If you have multiple images to compress (e.g., for a blog post or product page), use the batch image compression online feature to save time. Our tool processes multiple images at once, so you don’t have to upload them one by one.
Frequently Asked Questions (FAQ)
Q: Will compressing my image make it blurry?
A: No, if you use our tool and select the “High Quality” setting, your image will not be blurry. Our advanced compression technology preserves clarity and detail while reducing file size, ensuring image compression without quality loss.
Q: Is this method of compressing images online free?
A: Yes, our online image compressor tool is 100% free. There are no hidden fees, no paywalls, no registration, and no limits on how many images you can compress—true free online image compression.
Q: Do I need to download any software to compress images?
A: No, our tool is web-based—you can use it directly in your browser without downloading any software or apps, making it easy to compress images without losing quality online anytime, anywhere.
Q: What image formats does the tool support?
A: Our tool supports all popular image formats, including JPG, PNG, WebP, and GIF. It works for both photos and graphics, making it a versatile online image compressor tool.
Q: Can I compress multiple images at once?
A: Yes, our tool supports batch image compression online. You can upload multiple images and compress them all at once, then download them as a ZIP file to save time.
Overall, learning how to compress image size online without losing quality is a simple, valuable skill that saves time, storage, and frustration. With our free online image compressor tool and step-by-step guide, you can compress any image in seconds, no technical skills required. Whether you’re a blogger looking to speed up your website, a student sharing photos for a project, or a business owner uploading product images, this method works for everyone. You can also try our other related tools such as Image Resizer Online, PNG to JPG Converter, and Photo Editor to make your image tasks even easier. Start compressing your images today and enjoy faster uploads, more storage space, and high-quality results!